Title: A Beginner’s Guide to Stretching Canvas onto a Frame: Step-by-Step Instructions
If you’ve ever purchased a rolled canvas or worked with loose fabric, you understand the significance of properly stretching it over a frame. A well-stretched canvas not only improves the look of your artwork but also contributes to its longevity. The great news is that you don’t need to be a professional framer to accomplish this task yourself!
Here’s a detailed guide on how to stretch a canvas onto a frame like an expert.
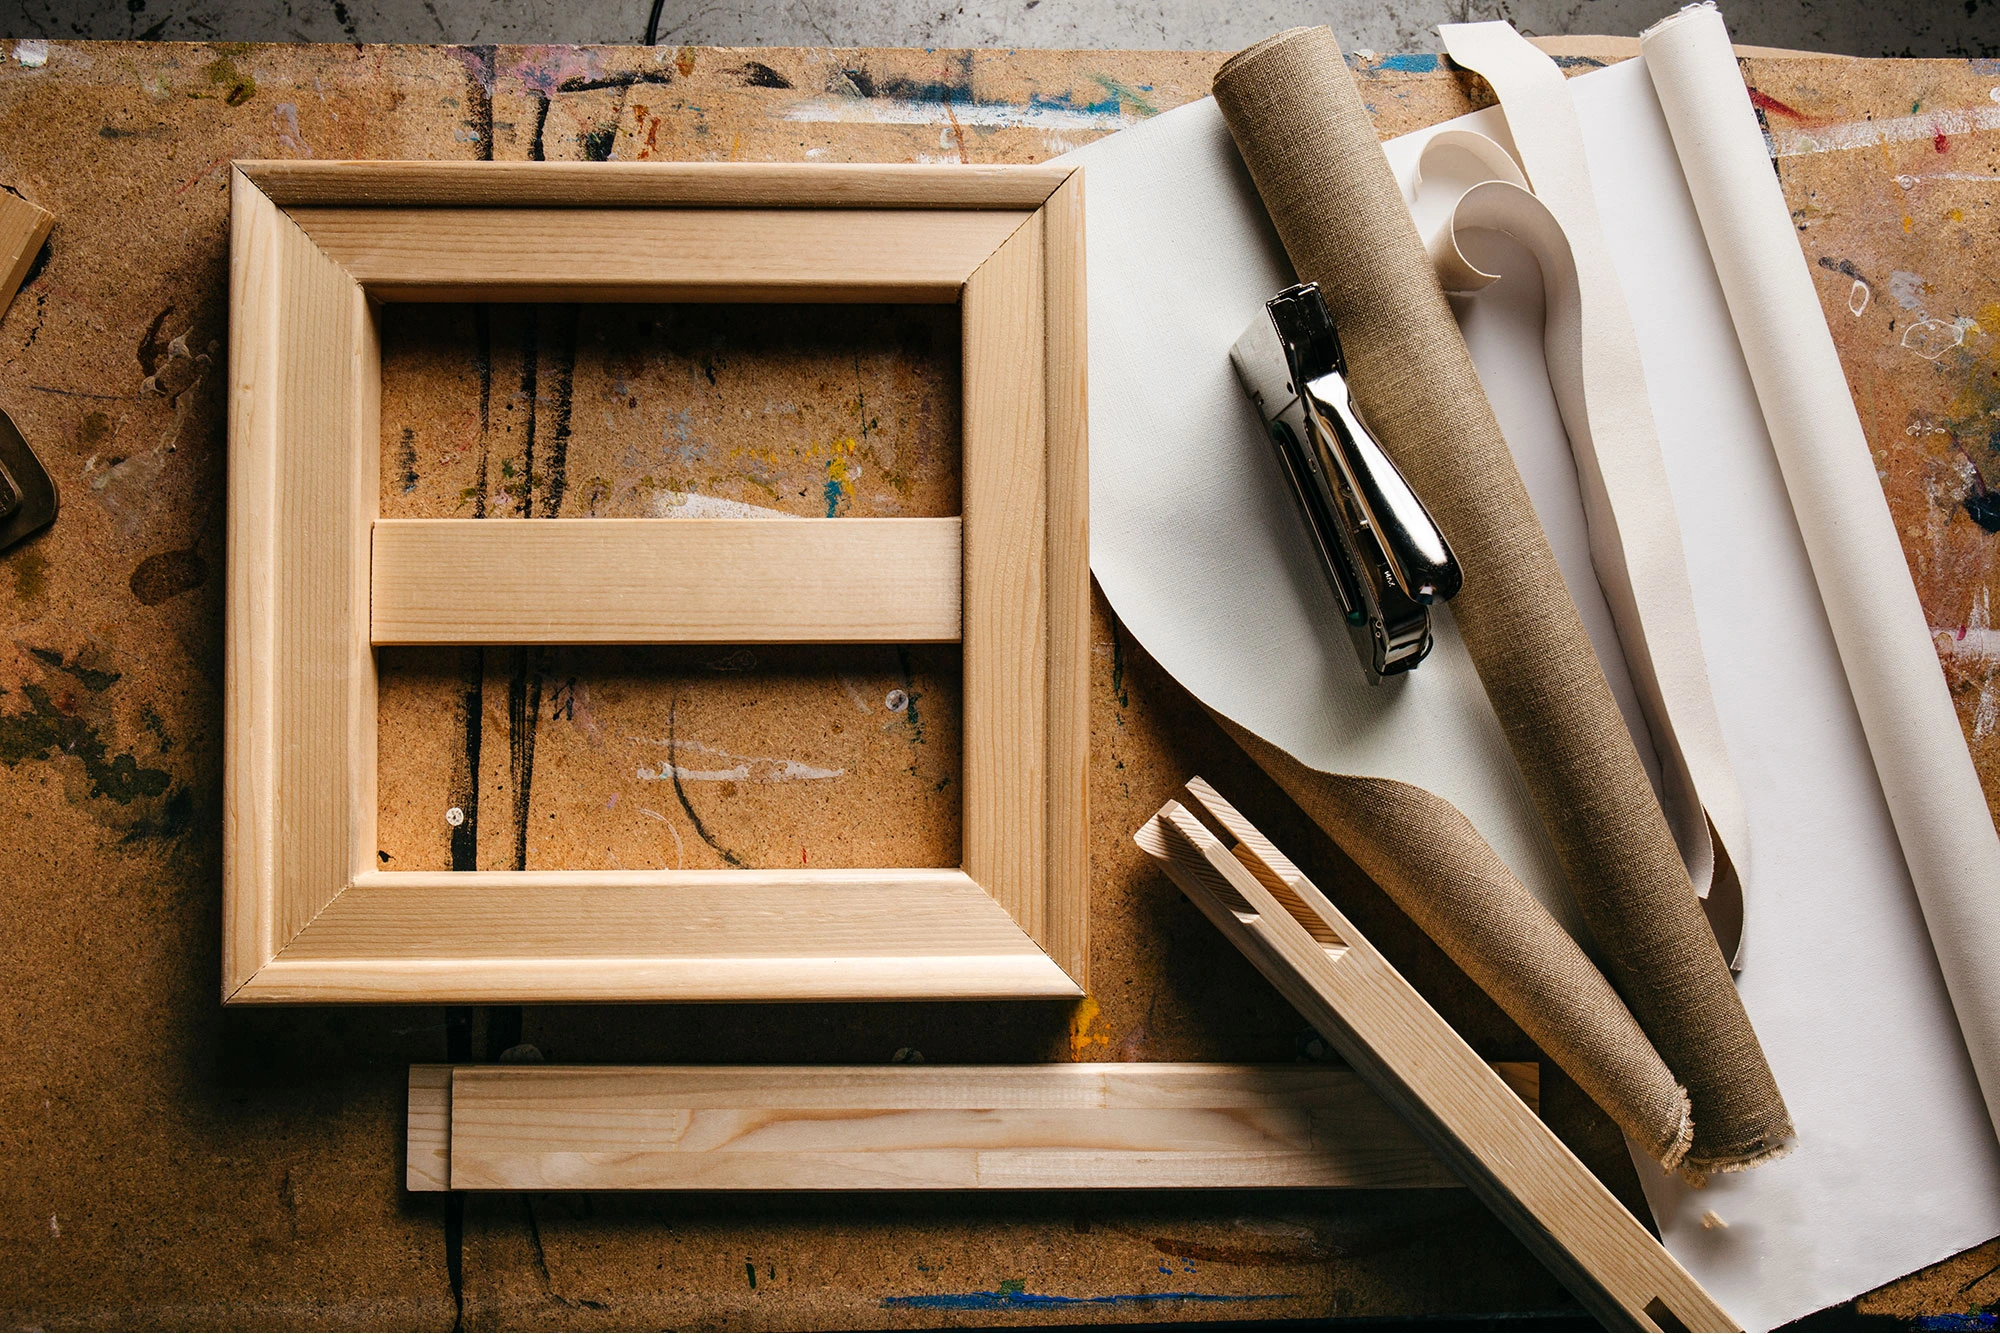
What You Will Need
Before you start, gather the following materials:
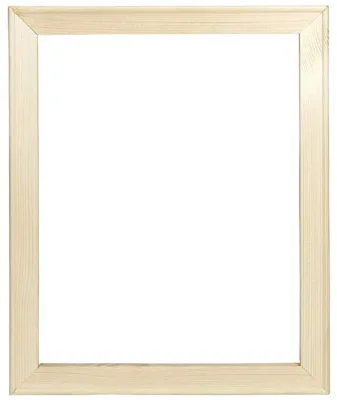
– A pre-cut wooden stretcher bar frame
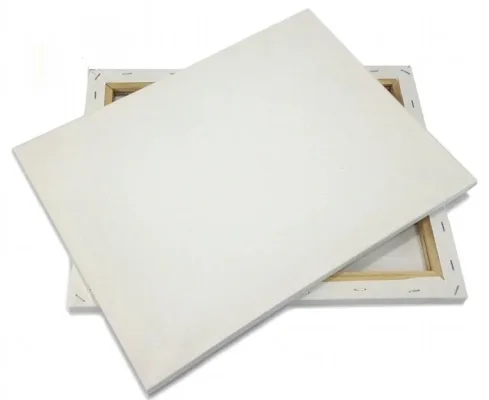
– Your canvas (either painted or blank)
– A heavy-duty staple gun
– Staples (1/4” to 3/8”)
– Canvas pliers (optional but useful)
– Scissors or a utility knife
– A flat working surface
Step 1: Assemble the Stretcher Frame
Begin by connecting the stretcher bars. Most stretcher bars are designed with a tongue-and-groove mechanism that allows them to fit together easily. Ensure that all corners are square, creating a perfect rectangle without any warping. If necessary, you can use a rubber mallet to gently tap the joints into place.
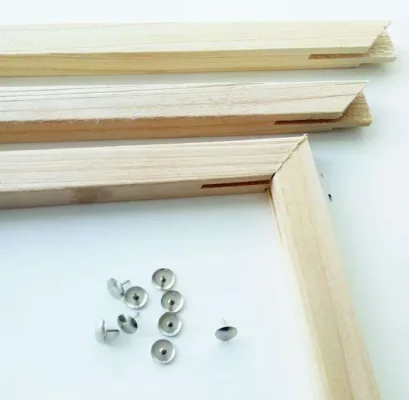
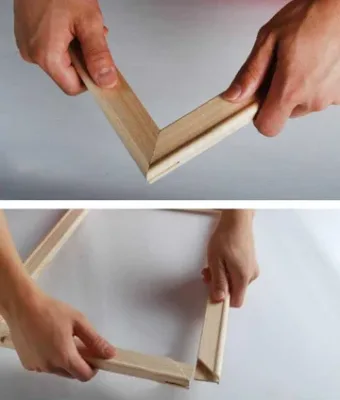
📌 Tip: Utilize a carpenter’s square to verify that the corners form 90-degree angles.
Step 2: Position the Canvas
Place your canvas face down on a clean, flat surface. Center the wooden frame on top, leaving approximately 2–3 inches of excess canvas around each side for wrapping and stapling. Smooth out any wrinkles by gently pulling on the edges.
Step3: Secure the first side
Step 3: Secure the First Side
Choose one side of the frame to begin with (typically the longest side). Fold the canvas over the edge and place a staple in the center. Next, move to the opposite side, pull the canvas tight using canvas pliers, and staple the center of that side as well.
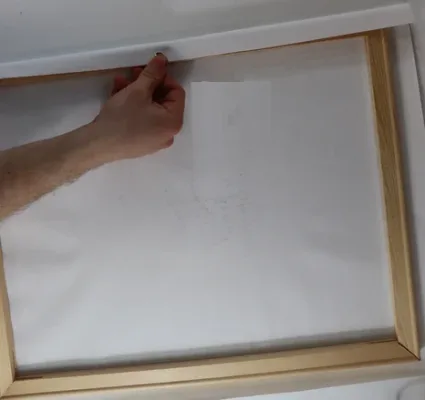
📌 Pro Tip: To begin with, always ensure the canvas is tight; however, avoid stretching it so much that it distorts the frame. Aim for a firm and even tension.
Step 4: Move Outward
Starting from the center staples, work your way towards the corners, alternating sides as you go:
Add two staples to the left and right of the center staple.
Then switch to the opposite side and do the same.
Continue this alternating process until you are about 2–3 inches from each corner.
This method helps maintain even tension across the canvas.
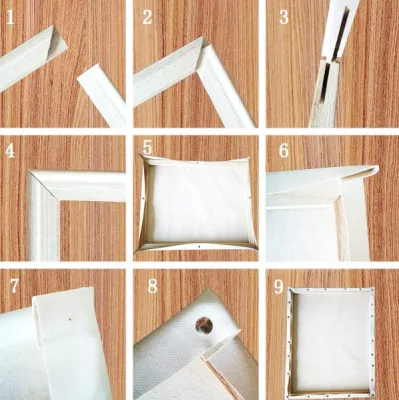
Step 5: Handle the Corners
Corners can be challenging, but here’s a reliable technique:
Fold one side of the corner over the frame.
Then fold the other side over it to create a neat, triangular pleat.
Staple it down securely.
Repeat this for all four corners.
Step 6: Trim the Extra Canvas
Once the canvas is firmly in place, use scissors or a utility knife to cut away the excess canvas along the back edges of the frame. Be cautious not to cut too close to the staples.
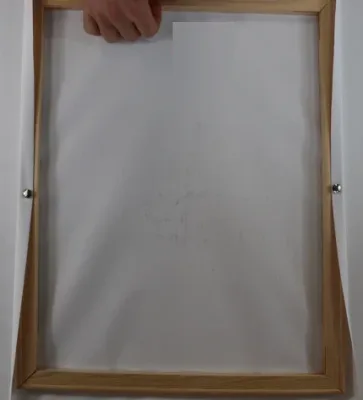
Step 7: Review Your Work
Turn the canvas over and check:
Is it free of wrinkles?
Are the edges uniform?
Is the tension consistent across the surface?
If anything seems off, you can remove a few staples and make adjustments as necessary.
Stretching your own canvas can be both rewarding and economical. Whether you’re preparing a blank canvas or framing an artwork, learning this skill provides you with greater control over your creations. So, pick up that staple gun and give your canvas the ideal support it needs!